Hey people, Tominon here!
I think its nice to have some green in your room,
gives a relaxing natural feel, like Arrietty's room
(from "The Borrower Arrietty" for those of you who aren't quite into Ghibli works).
So I thought it would be nice to try out the crafting starch clay "Resix"
to challenge making some artificial plants!
I was looking around interior store, and found the "Eucalypt pots"
to be just adorable, with all these cute round leaves, so we will be
making this leaf pot today.
Just a disclaimer, I don't know the proper way to craft these,
so I will be introducing my original method.
Things to prepare:
-
Crafting Starch Clay "Resix"
-
Crafting Clay (anything will do)
- Paint (I've used acrylic water color this time)
-
Brush
- Thin wire
-
Sand Paper
- Coating spray (Topcoat, GSI Creos recommended)
- Gloss Varnish (Tamiya Gloss Varnish recommended)
- Craft Glue

Right, here is the item of the day, the "Resix"!
The content is wrapped with gladwrap.
(might be good to wrap it well and keep it in a airtight bags
when not in use, helps prevent it drying)
About this Resix thingy, it is really REALLY SOFT!
Its probably the softst clay I have worked with,
and I was surprised of how smooth it is.
It kinda feels moist and creamy, if you know what I mean.
Most crafting clay starts off quite hard, you see.

The good thing about these Resix is that these have great flexibility,
and are quite flexible even after drying.
I tried rolling it and even bending it in half,
but it still didn't crack!
Not only that, it kinda tries to get back to its original state.
Works fine being stretched paper thin or needle thin,
Mr. Resix is just so awesome!
Right, moving along.
Let's get started!!
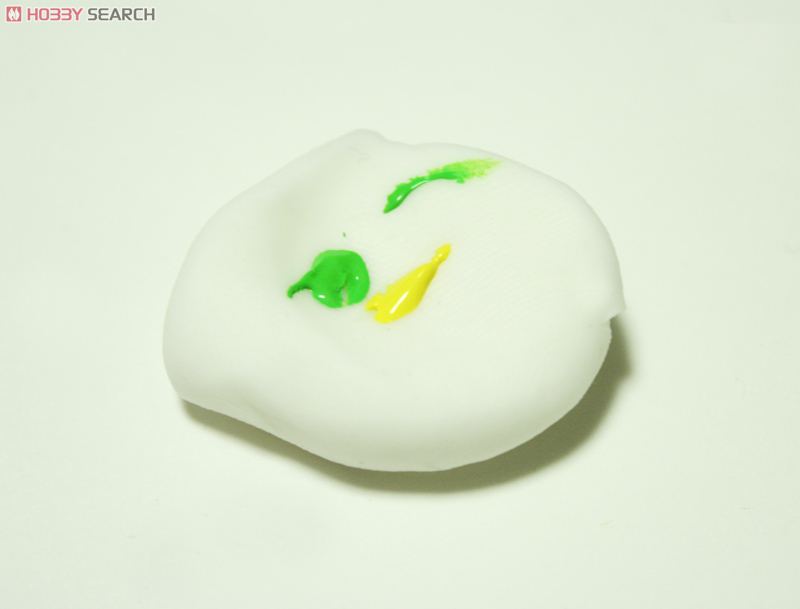
Firstly, we will start with the stem.
Get a bit of green and yellow paint on the Resix,
and mix it well (or squish and smoosh or whatever you do)
until the color is even.
Just to note, you are less likely to mess up
if you add small portion of paint gradually.
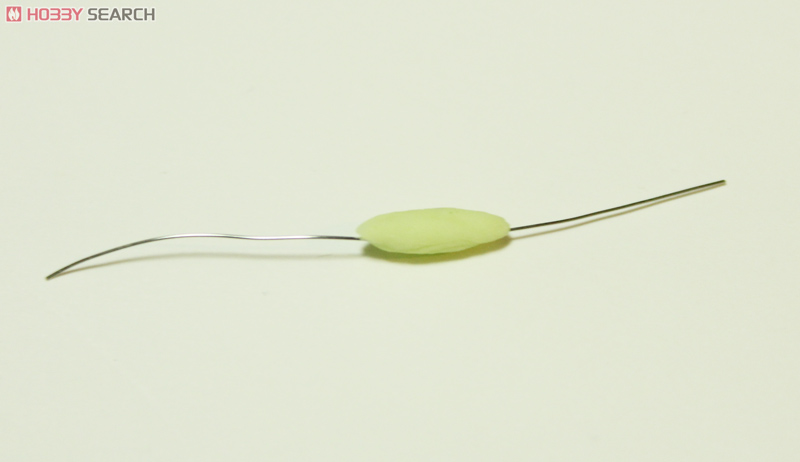
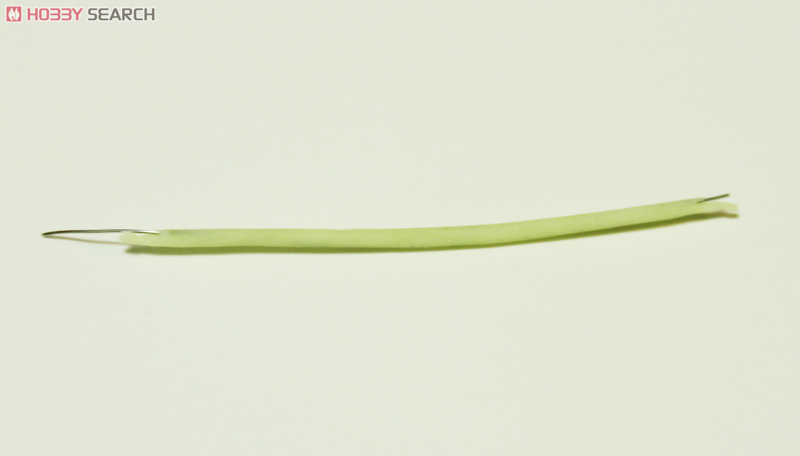
If you will use wire on the center of the stem, put some resix
at the center of the wire and let's roll it on a flat surface
using your fingers.
I found it easier this way to spread the resix across the wire evenly,
compared to simply molding with your fingertips.
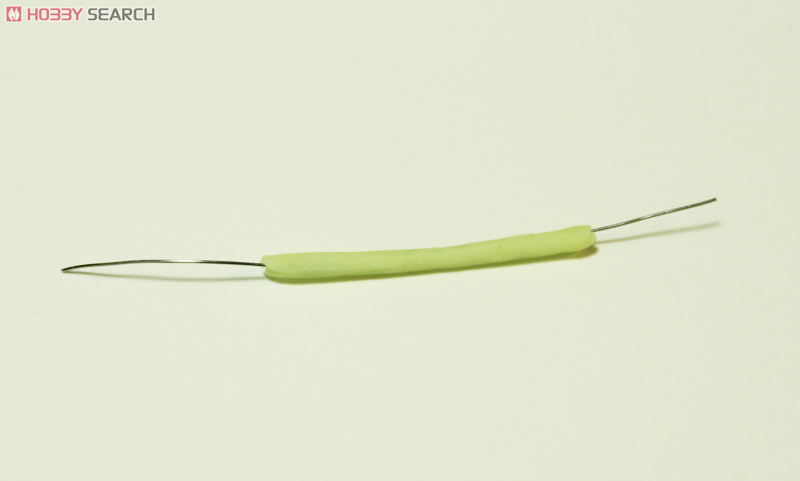
*roll roll roll*
*roll roll roll roll roll roll*
Okay, enough rolling.
I guess something so small and light as the Eucalypt leaves wouldn't be
too much a stress on the stem, so you don't necessarily need to use
wire for support.
So if you want to make the stem REALLY THIN, then you might try
working without wire.
Anyway, you can decide case by case.
I wanted to bend some so I have made 3 using wire this time.
Oh just btw., you don't wanna work on paper sheets,
fiber gets stuck on the paper and its really annoying.
Worst of all, tissue paper is especially bad! Stay away from them!!
So I recommend using a flat smooth plastic board that is nice n clean.

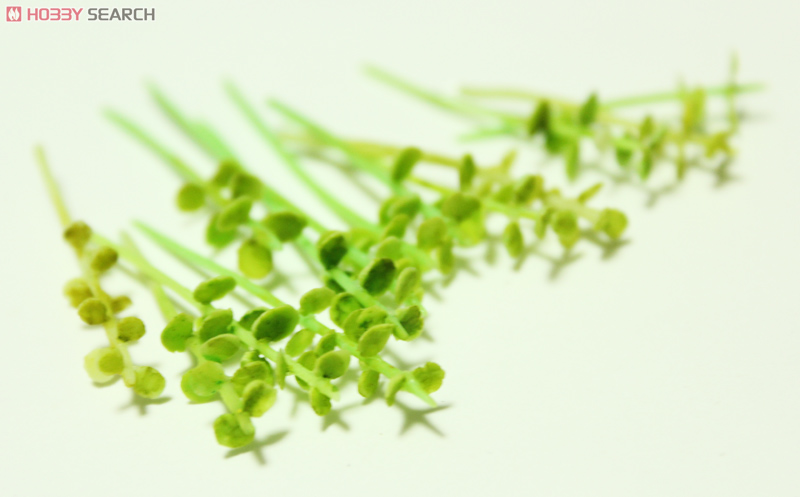
Onto the leaves now.
I simply took small bits of the clay (around 1~2mm pieces) and
squished them with the flat part of my nails.
Each stem would need around four to six leaves,
so if you make 10 stems, you would need around 40 leaves…
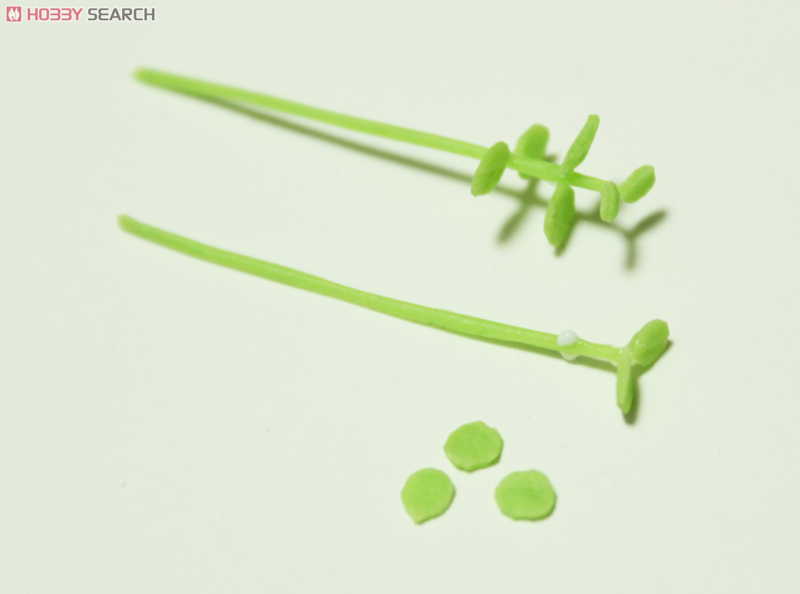
To attach the leaves on each sides, use tiny bit of craft glue!
As long as you use enough craft glue, the leaves stick surprisingly firmly.
So once it dries, it wouldn't break if you touched it a bit.

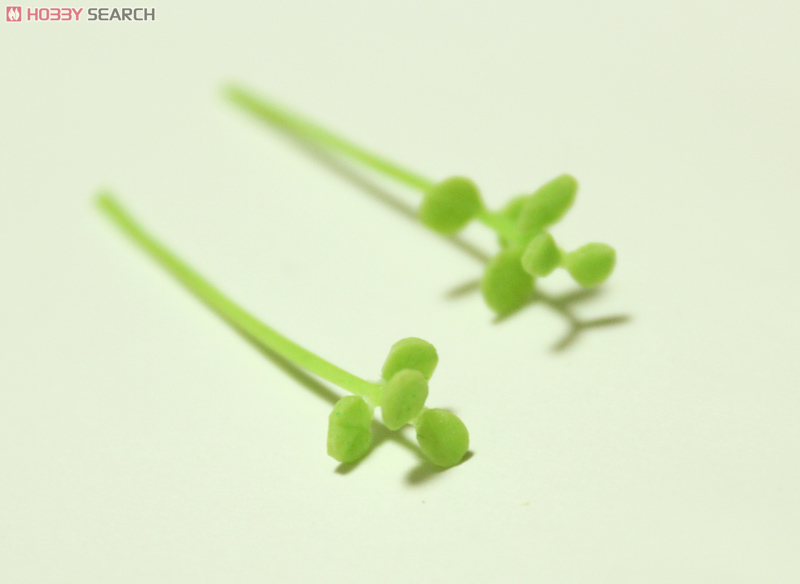
Mass production!
I think it looks more realistic to have slightly different shades
of color for each one.

Made quite a few here!

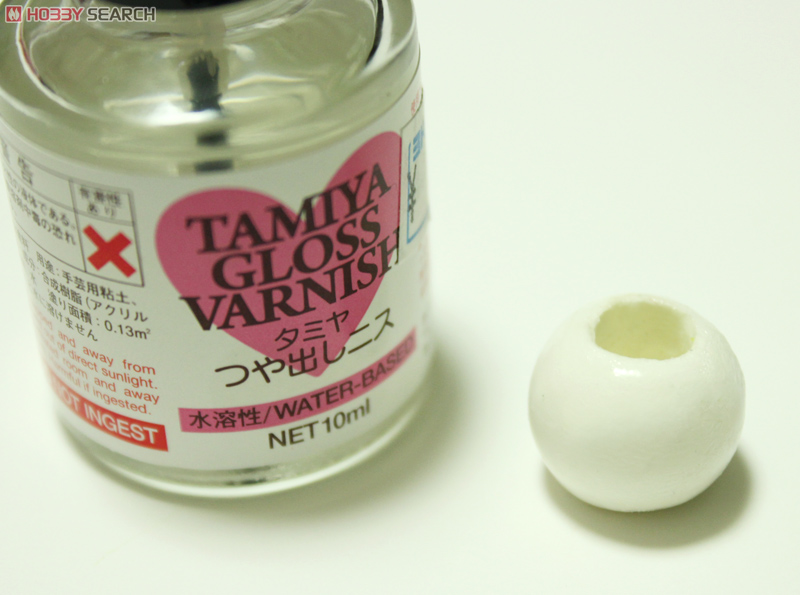
For the pot, I thought it would be nice to make a round
pot to match the cute round leaves.
You simply make a ball of clay, and stab it with a round stick
(I've just used a pen that was lying around).
I've used normal crafting clay for the pot, but I guess
you can also use resix for it too.
After stabbing the ball, gently roll it on a flat surface.
Once you get a nice surface, dip your finger in water and
lightly smoothen the surface, should turn out well this way.
Once its completely dry, use super fine sand paper to
get rid of any bumps, and then time to apply much much varnish!
If you get many layers of varnish, you will get a nice glossy
texture very much like plates!
Of course, you can choose not to apply varnish and keep it rough too,
that would be up to you.
It takes a while for the varnish to dry, so you might as well
add a bit of color to the leaves.
Then again, they already have plain colors, so you are only putting
a bit of watered down paint with the tip of your brush,
to add depth to the leaves.
I recommend using some yellowish brown, make them look more realistic
than plain green in my opinion.

Now get a bit of clay and color it muddy brown.
Once the varnish dries, fill the pot with this brown clay,
and then you can plant the stems.
If the stems don't sit very well, you can just use craft glue
to stick them down.
I think it also looks better to have the lengths different,
so try to have a variety of lengths and layers.
I wanted mine darker, so I've added a mix of black and green paint.
Makes it look kinda realistic, doesn't it?
To finish it up, let's spray a thin layer of overcoat to get a glossy look.
Be careful not to overdo it though, will look artificial if you
layer it too much like the pot.

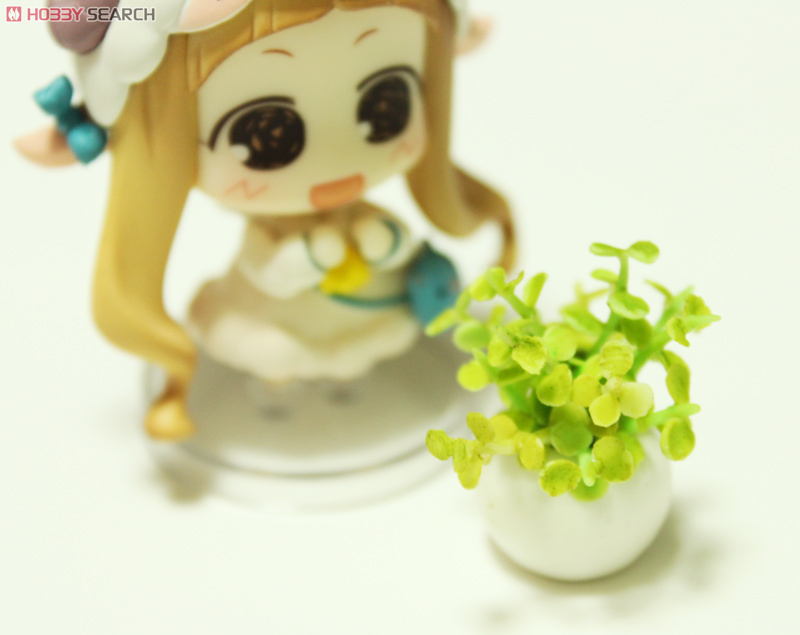
And finally, it is complete!
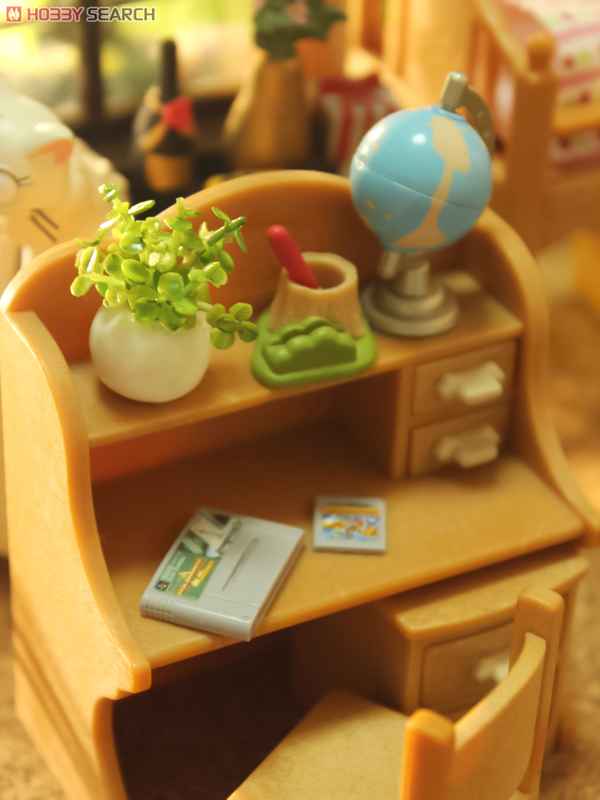
I think it creates a tranquil atmosphere even if you
simply place it on the desk.
Ah, very nice, if I say so myself.

Looks good on the bedside table.


or on the kitchen bench.

or in the toilet.
You may feel nice n relaxed while you do your thing.

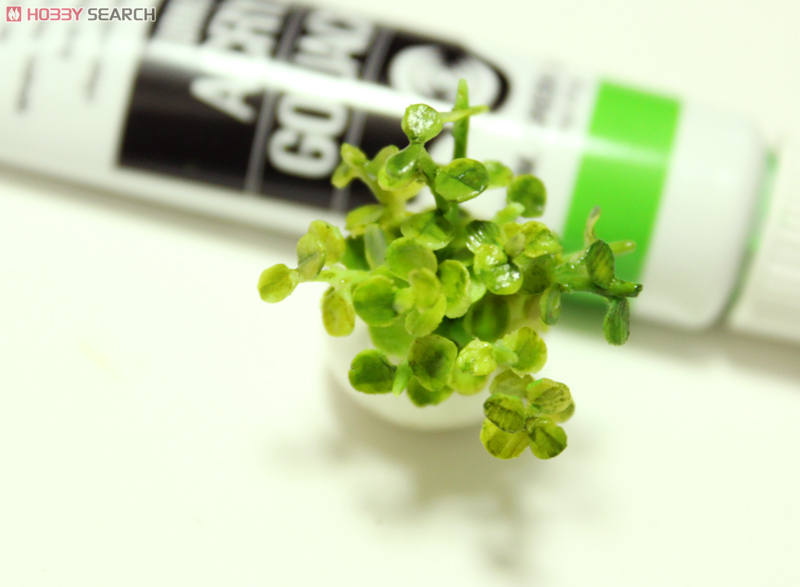
Hey Mikudayo-, check this out! I made a pot plant!!
Mikudayo-: "gee, thought it was a radish"
…what, a radish……!?
(Tominon's mentality took 9999 damage!)
…yeah, I noticed too… it kinda looks like a radish…
I dunno, may be its because of the pot being white and fat…
I guess next challenge would be to get the stems thinner…
***** extras *****
Before I decided to make the Eucalypt pots, I was thinking of
making making some pothos.
I gave up half way through, but I will show you these anyway.
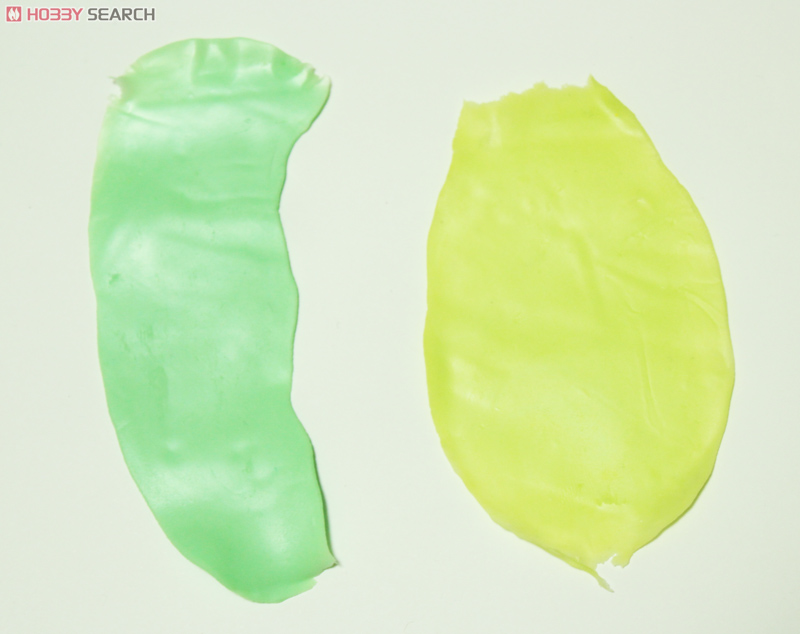
First, you prepare a thin sheet for the leaf part.
Simply put the clay between two flat plastic boards,
and role a tubular object on top of it, and you will end up with
something like the pic above.
I guess you could just press it with your fingers, but it would look
quite bad if you get fingerprints all over the clay…
so I recommend this method.

After it dries, cut leaf shapes out with scissors.
Also, press the scissor blade against the center to get a
nice crease on the leaves.
The Resix is very flexible with this elastic quality,
so you can put apply some force when you press the blade against it.

Add the stems, and you get something like this.
I found that it looks nicer to make the crease after the leaves dry
rather than while its still moist, you might wanna test that yourself.
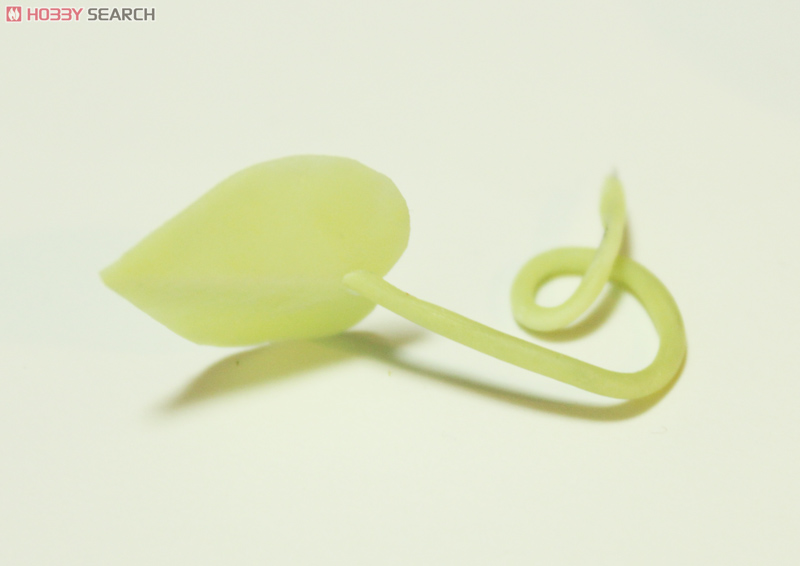
Just experimenting, putting wire in the stem lets you
shape the stem very freely, this is the superb thing about Resix I say.

The back of the leaf, taking a look at the crease.
The center part becomes white and looks realistic! Kinda like a cabbage…
…things were good up to around here…
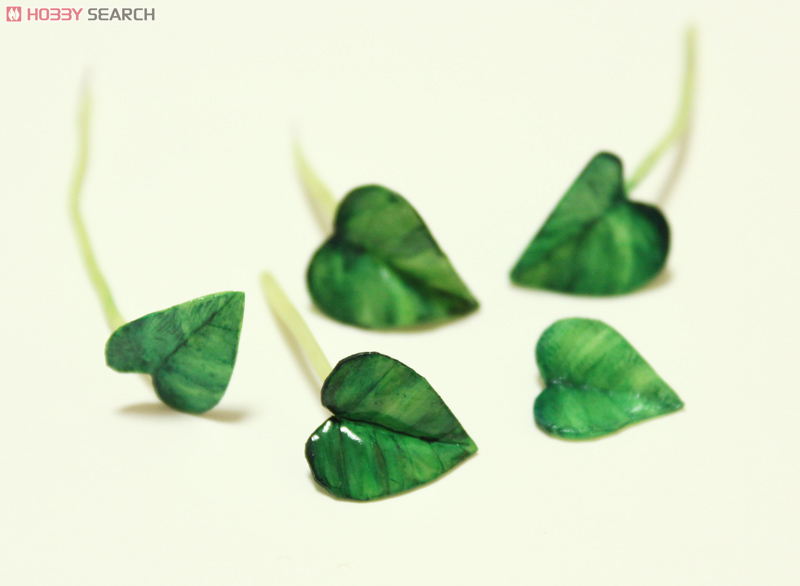
I thought it would be good to paint the leaves to finish it up,
but putting too much gloss and paint (and the patterns don't look like pothos),
and really look toy-like…
So, I gave up on them…
but its kinda sad to just throw it out,
considering the effort put into making these…
![]()
Look, its an umbrella!
Isn't it cute, just like Totoro!!

My neighbor Dambo.

If you find a puppy in the rain, let's shelter it with your umbrella.

looks like a heart from at bird's eye view.
Cute, huh.
So yeah, that is it for plant making session using the starch clay Resix!
I think Resix is very suitable for plants, with the semi translucent look.
I recommend you all to give it a try, its fun n easy!
Right then, that’s it for today.
See you next time!
by Tominon